Tuesday, February 24, 2015

Secret Safari shortcuts: Ten gestures to speed up your iPhone browsing!


Safari for iPhone spun out of Safari for Mac and was one of the very first fully functional web browsers ever to hit mobile. Taking all that power and making it simple and accessible for the masses meant that, over the years, a lot of shortcuts and time savers got hidden away behind gestures. Luckily, once you know how to long-tap (touch and hold) and swipe your way around, you'll be using Safari for iPhone faster than ever!
Note: Some shortcuts, like history list and tab restore don't work in private browsing mode, because private.

1. Jump to the top

One of the first and still one of the best iPhone gestures, while I'm sure almost all of you already know this, I'm including it just in case. If you've spent a while scrolling down a page but decide you want to go back to the top, instead of scrolling all the way back up, try this:
  1. Tap the title bar at the very top of the screen. (If the address bar is minimized, tap twice — once to maximize it, once to jump up.)

2. Tap to show toolbar

To show you more of the page content, Safari hides the toolbar as you scroll down. Instead of trying to make it reveal itself by scrolling back up, try this:
  1. Tap the very bottom of the screen.
  2. Tap the tool button you want to invoke.

3. Swiftly save or copy an image

If you come across an image on a website you want to save or copy to the clip board, try this:
  1. Touch and hold down on an image.
  2. Choose to save or copy it from the menu.
(If it doesn't work, the image may be embedded in the style sheet instead of the page — no luck!)

4. Flash back in history

If you've tapped a bunch of links and decide you want to go back to a previous page, instead of tapping the back button or swiping to go back a page at a time, try this:
  1. Touch and hold down on the back arrow button at the bottom left to pull up the history list of pages you visited previously.
  2. Tap the page you want to jump back to.

5. Flash forward in history

If you've already jumped back but decide you want to go forward again, instead of tapping the forward button or swiping forward a page a time, try this:
  1. Touch and hold down on the forward arrow button at the bottom left to pull up the history list of pages you visited next.
  2. Tap the page you want to jump forward to.

6. Bookmark 'em in a blink

If you land on a page you love and you want to make sure you remember it, instead of tapping the share button and then choosing what you want to do, try this:
  1. Touch and hold down on the bookmark button at the bottom center to bring up the bookmark menu.
  2. Tap add a bookmark, add to reading list, or add to shared links.

7. Rapidly reorder tabs

If you like to keep your tabs in a very specific order, and they aren't already the way you want them, instead of closing them and opening them all again, try this:
  1. Tap the tabs button.
  2. Touch and hold down on the tab you want to reorder.
  3. Drag it to the position you want it.

8. Speedily swipe away tabs

When the time comes to close a tab, you can hit the small X button at the top left, but if you want to be a little more physical, and have a little more fun, try this:
  1. Tap the tabs button
  2. Touch and hold down on the tab you want to close.
  3. Toss it away to the left.

9. Quickly restore tabs

If you close a tab or set of tabs by mistake, or you close them but later wish you hadn't, instead of trying to remember the page, try this:
  1. Tap the tabs button at the bottom right
  2. Touch and hold down the + button to bring up a list of recently closed tabs.
  3. Tap the tab you want to restore

10. Remotely close iCloud tabs

If you leave a tap open on an iPad or Mac you wish you hadn't, instead of running back to the device, turning it on, going to Safari, and closing the tab, try this:
  1. Tap the tabs button and scroll down to iCloud tabs
  2. Swipe across the iCloud tab to bring up the delete button. 
  3. Tap the delete button to close the tab.

Source: http://www.imore.com/secret-safari-shortcuts-gestures-speed-your-iphone-browsing

Secret Mail shortcuts: Ten gestures to speed up your iPhone email!


Apple's Mail app for iPhone and iPad has a ton of features you can invoke at the tap of a virtual button. It's what makes it simple and accessible even to first time iOS users. If you play around with it for a while, however, you'll discover a bunch of gesture shortcuts as well. Once you get used to them, they can really speed up and expand your workflow. 

1. Pull to search

Just like on the Home screen where you can touch and pull down to access Spotlight search, you can touch and pull down from any mailbox to bring up search for mail. Start typing and Mail will show you any messages that match.

2. Pull to refresh

Pull-to-refresh, originally created by Loren Brichter for Tweetie, is now ubiquitous in iOS. Any time you want to check for new messages, just touch the mailbox screen and pull down — further than you would for search — until you see the refresh spinner.

3. Swipe to go back

Another system-wide gesture, any time you're in a message or mailbox, you can swipe to go back to the mailbox the message is in, or the account the mailbox in in. It's especially handy for those with bigger phones.

4. Mark as unread

To quickly mark a message as read, touch it and swipe from left to right. To mark it as unread again, just repeat the gesture. You can swipe just far enough to see the big blue button, but if you keep swiping all the way across, you can skip the tap and really speed things up!

5. Flag and trash

To quickly trash or flag a message, touch it and swipe from right to left. You can tap the big orange flag button to flag it, or the big red trash button to delete it. You can also just swipe all the way across to save yourself a tap and send it straight to the trash.

6. More options

When you touch and swipe a message from right to left, in addition to flag and trash, you can also tap the big gray more button for additional options, including: reply all, forward, flag, mark as unread/read, move to junk, move message, and notify me...

7. Swipe Settings

If you don't like the default behavior of the mark, flag, and trash swipe gestures, you can change them via Settings > Mail > Swipe Options. For example, if you prefer "archive" to "trash" simply choose that instead.

8. Hide the keyboard

Sometimes, where you're responding to a message, you want to see more of it. Maybe you forgot the exact question you're trying to answer, or you want to refer to something specific. No matter the reason, all you have to do is touch the message above the keyboard and swipe down to hide it.

9. Stack drafts

When composing a mail message, touch the title bar — where it says New Message — and swipe it down to temporarily store it as a draft while doing or checking something else. You can keep multiple draft cards open at a time, and tap them to get a rolodex interface just like tabs in Safari.

10. Jump to drafts

You can tap the compose button any time to start a new mail message, but if you tap-and-hold on it, you'll be shown a list of your recent drafts so you can pick up right from where you left off.


11. Move an address

If you have a contact in the To: field but you want to move it to CC: or BCC:, you don't have to delete and re-add it. Instead, just touch it and drag it right to where you want it.


Source: http://www.imore.com/secret-mail-shortcuts-ten-gestures-speed-your-iphone-email

Secret keyboard shortcuts: Twenty tips to speed up typing on your iPhone!


Apple popularized virtual, multitouch keyboards with the original iPhone and the brilliant work of the engineer who created it. Since then they've improved text entry with editing and insertion options, and the keyboard itself with a new, predictive engine. They've also added the option for custom keyboards. Yet not everyone knows every feature hidden in the keyboard and text editing controls. Once you learn them, however, your typing really starts to fly!
Note: Not every option is available in every app, and while the iPad contains all the iPhone shortcuts, it also contains additional features like the split keyboard and and flick quote.

1. Toggle your settings

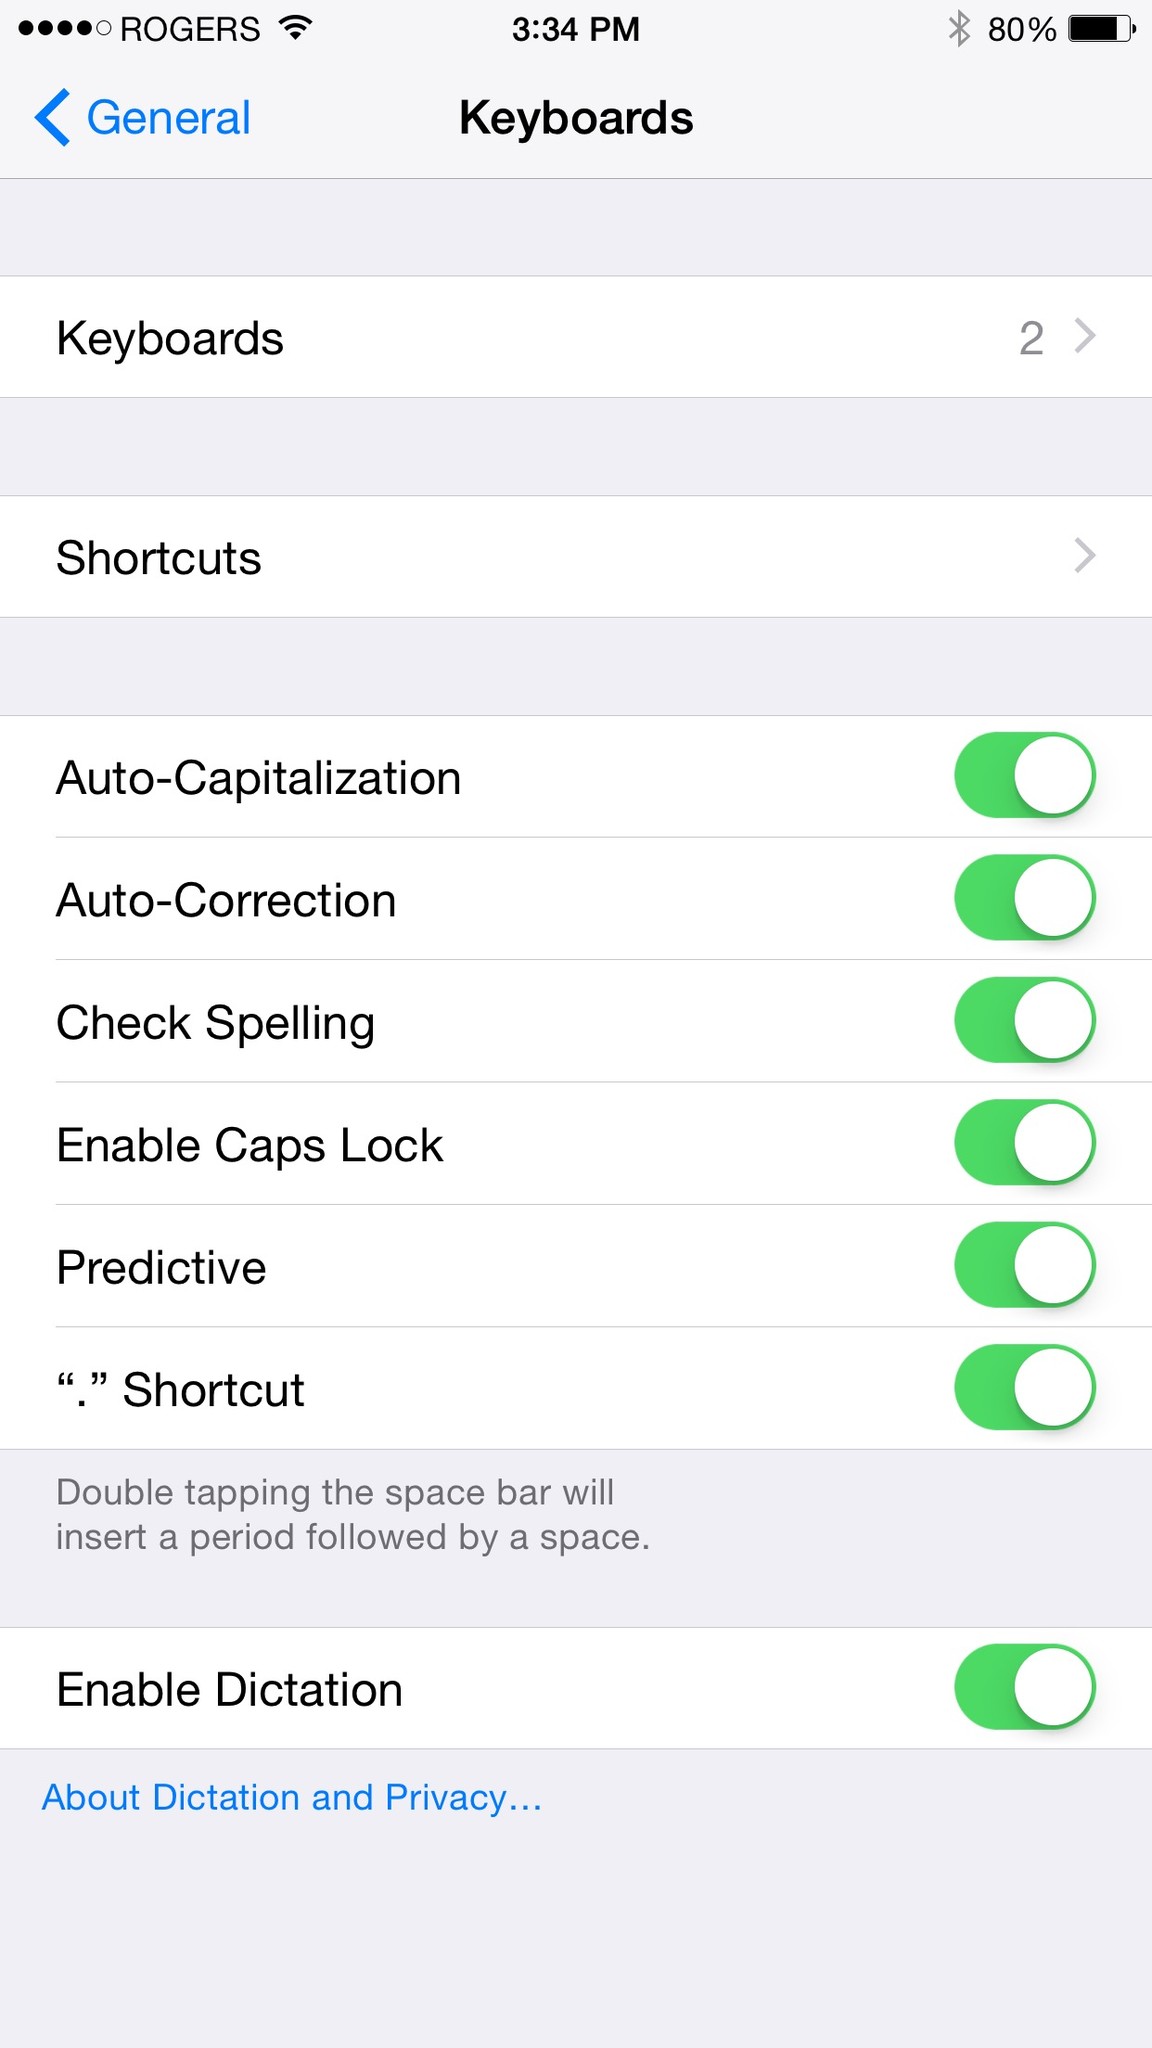
There are a lot of settings you can toggle for the keyboard, including auto-caps, auto-corrections, spell-check, caps lock, predictions, and more. Go to Settings > General > Keyboard to toggle everything to your liking.

2. Hide QuickType

If you don't want to turn predictions off all the time, but you do want them off some of the time, just touch the prediction area and pull down to hide it. Then touch the bar on top and pull up to show it again.

3. Speedy switches

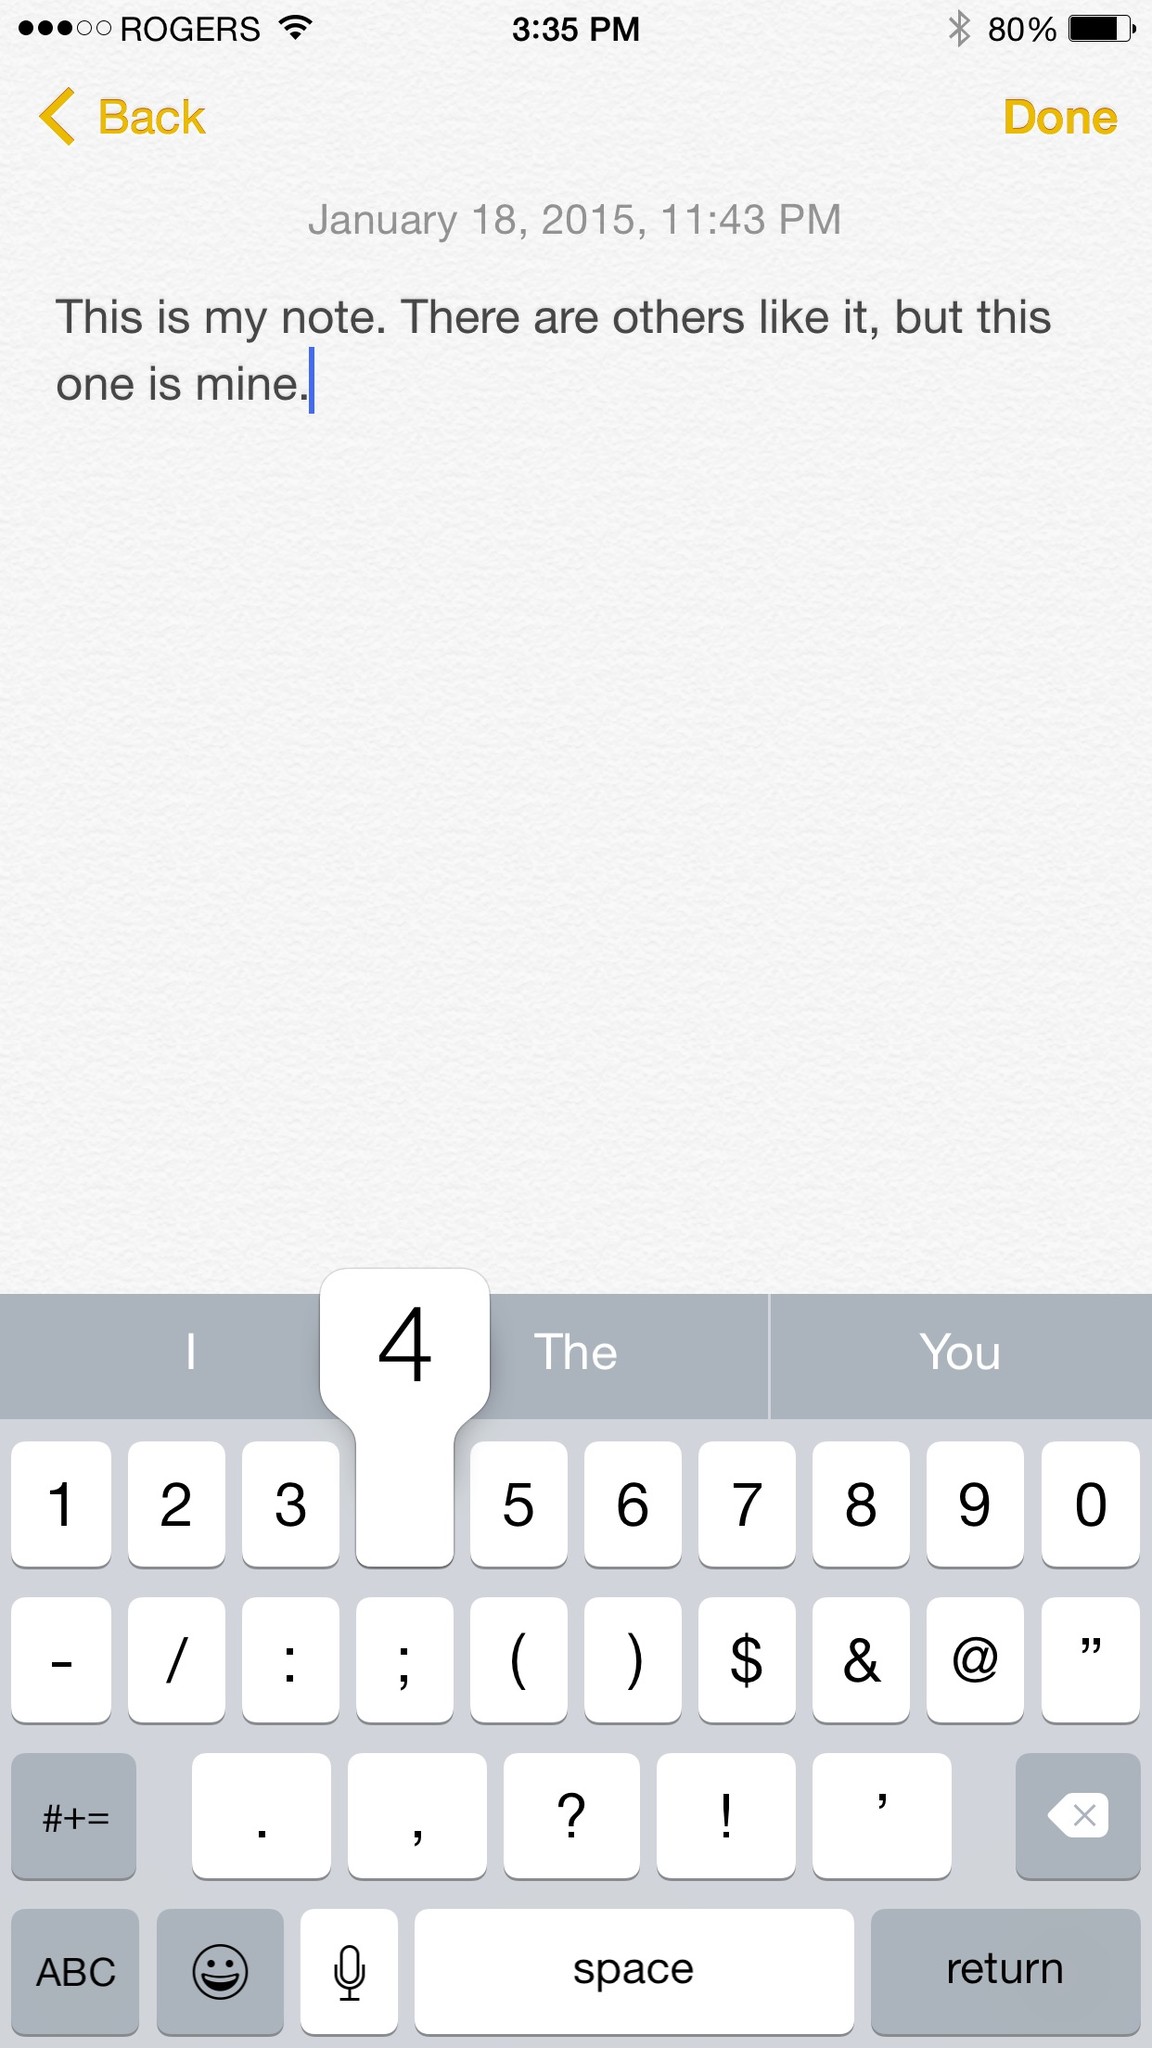
If you only want to enter one number or symbol, don't tap Number or Symbol button — touch it and slide to the number or symbol you want to enter, and then let go. It'll enter and the keyboard will instantly switch back. The same works for shift and capital letters!

4. CAPS LOCK

When you want to SHOUT AT SOMEONE WHO IS WRONG ON THE INTERNET you don't need to hit the Shift button for each letter. Just tap Shift twice and you'll be in CAPS LOCK mode until you're tap Shift again. YOU'RE WELCOME.

5. Special characters

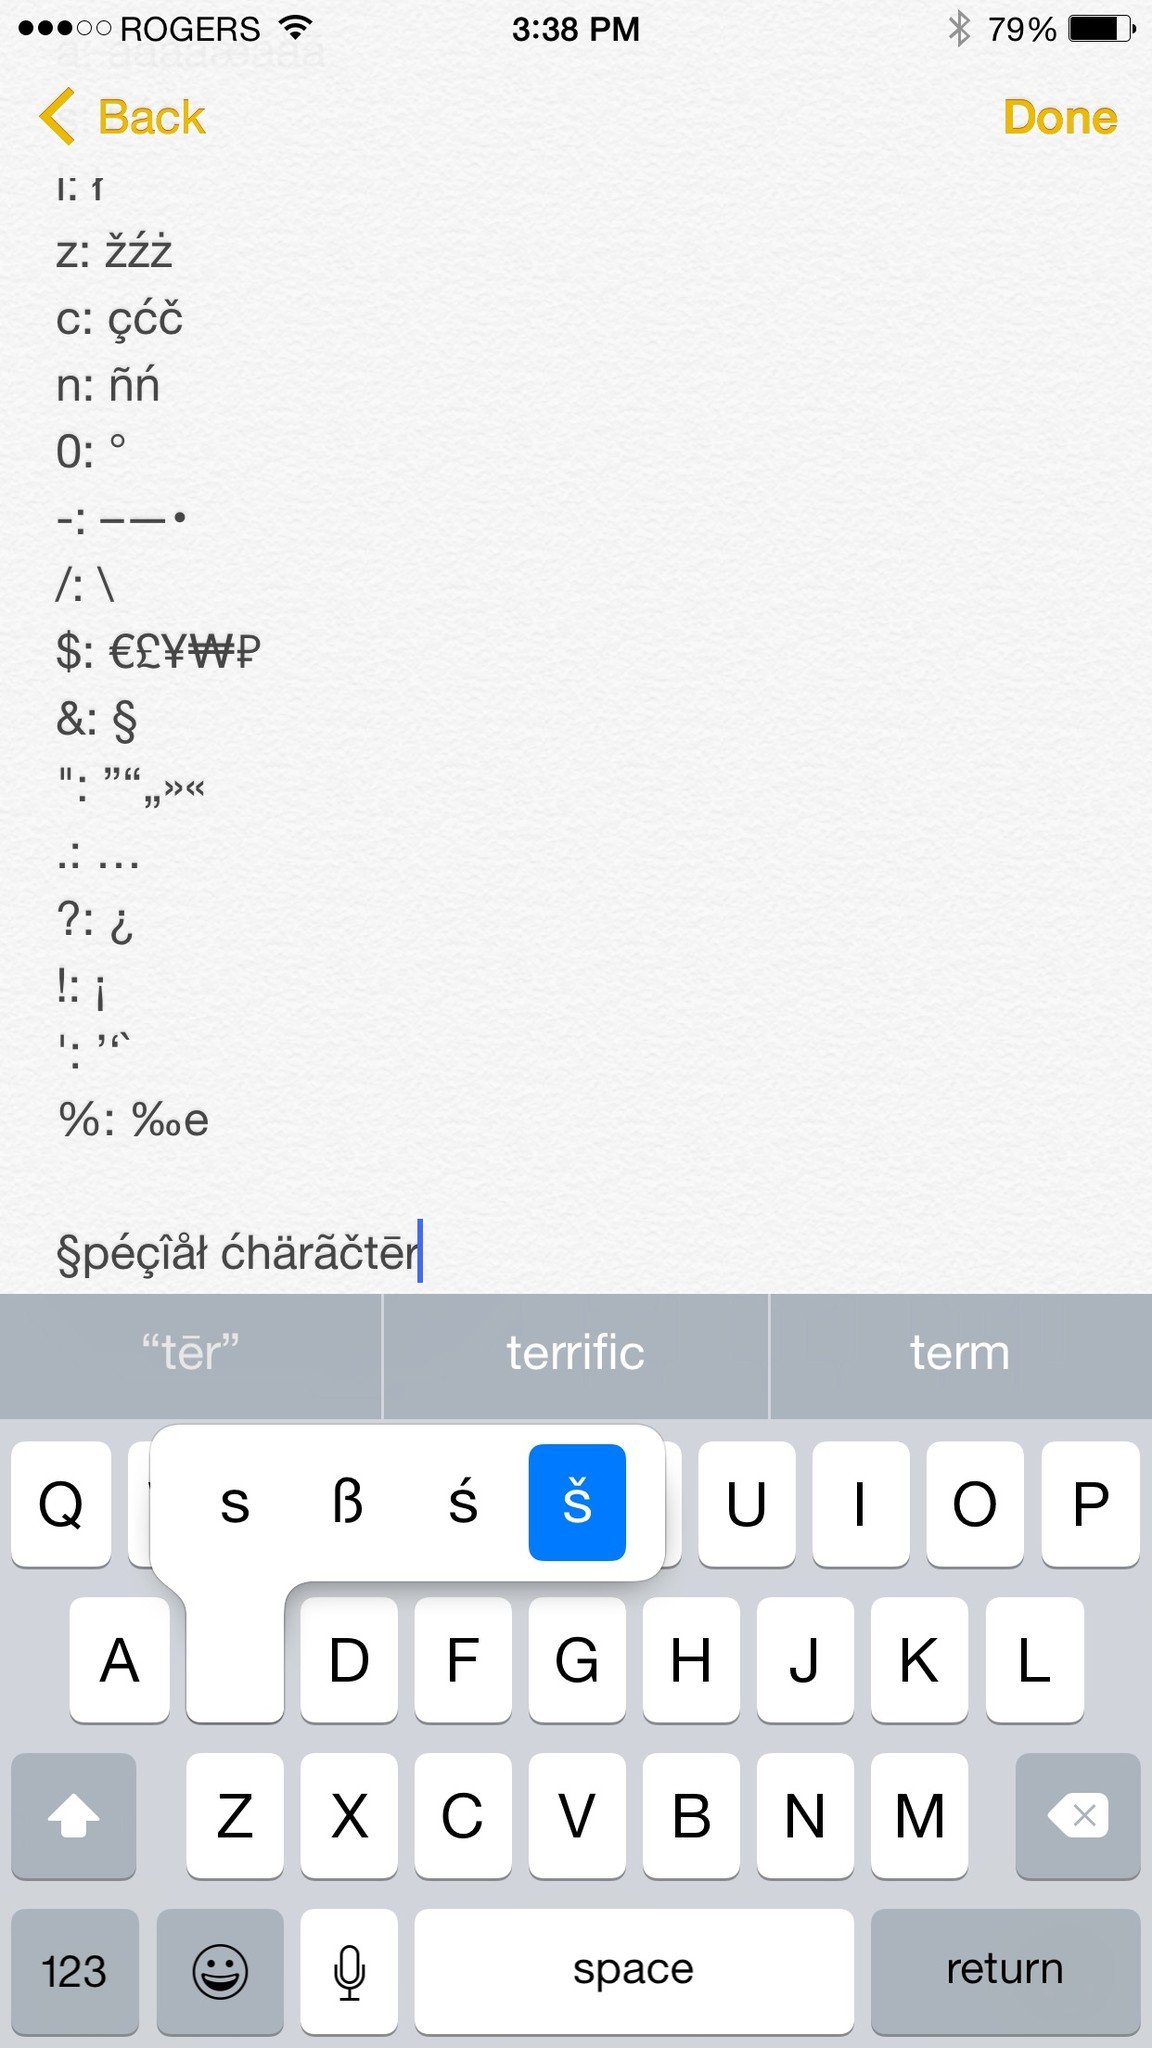
Typing the letter 'e' is easy as tapping it. Typing 'èéêëēėę' is almost as easy. Just touch and hold down on the letter 'e' and you'll get a popup with all the other options. In Safari, holding down '.' will give you options for .com, .net, and more.

6. Shake to undo

If you type some text, delete some text, or even paste some text and later regret, just shake your iPhone and you'll be given the option to undo what you did, and to redo what you undid.

7. Magnify mistkes

If you type a bunch of text and then notice a mistake, touch the screen and hold down until the magnifying loupe appears. Drag until the cursor is at the mistake, then let go and make your corrections.

8. Cut, copy, and paste

To cut or copy text, double tap on it and drag the handles to select the exact beginning and end points, and the tap Cut or Copy. To paste text, use the magnification loupe to position the cursor, then tap Paste.

9. Quick contractions

Instead of typing we-number-button-apostrophe-ll for we'll, just type welll and auto-correct will switch it to we'll. Weree for we're, helll for he'll and other common contractions work the same.

10. Undo auto-correct

Auto-correct will attempt to fix typing mistakes as you make them. If the correction is wrong, however, just hit the backspace key and iOS will popup what you originally typed. Tap on it, and it'll be un-auto-corrected and restored.

11. Rapid replacements

Misspelled words will be underlined in red. Tap them and iOS will offer a suggested replacement. You can get suggested replacements for any word, however, at any time. Just tap the word, then tap Replace from the popup.

12. Fast formatting

To quickly apply bold, italics, or underline in any app that supports rich text formatting, double tap on it, tap the B/U option in the popup menu, and then choose the formatting.

13. Dictionary defined

If you're not sure whether you're using the right word — cite the site in sight? — you can double tap on it to bring up the popup, tap the arrow on the right for more options, and tap Define to get the dictionary definition. Tap Manage to change or add dictionaries.

14. Image insertion

If your typing a note or email and decide you want to insert an image, double tap where you want to insert it and then tap Insert Photo from the popup menu. It's not full-on file attachment, but it's something.

15. Super shortcuts

If you tap the spacebar twice while typing, iOS will automatically insert a '.' for you and capitalize the next letter. You can set up your own shortcuts as well. It's great for handling common misspellings or inserting anything your type frequently, like 'gml' for your gmail address. Go to Settings > General > Keyboard > Shortcuts

16. Enter emoji

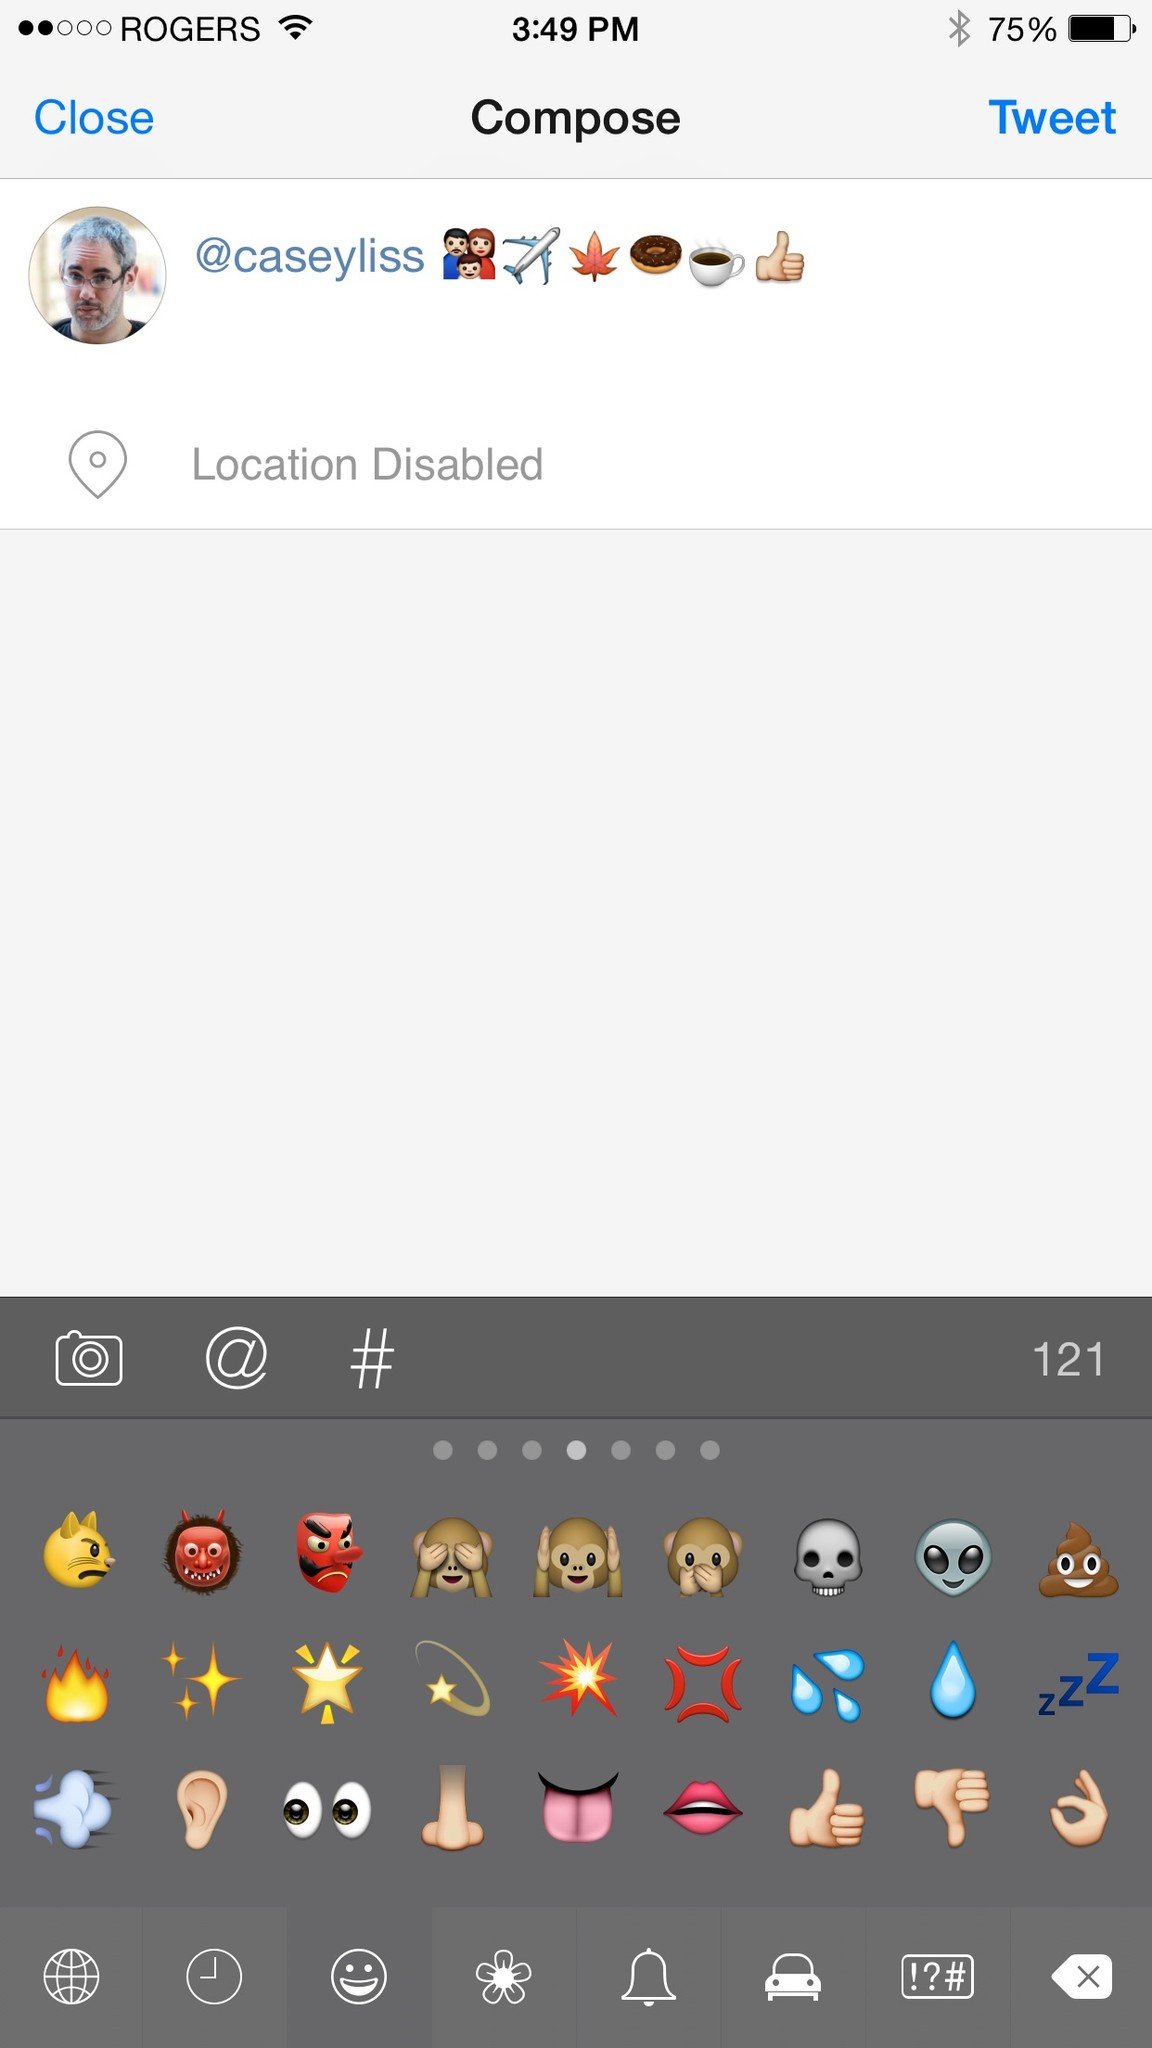
Emoji are a special character set used to communicate pictographically. To insert them you need to add the emoji keyboard. Go to Settings > General > Keyboards > Add New Keyboard > Emoji.

17. Custom keyboards

You can now get custom keyboards right from the App Store. Download the app, then go to Settings > General > Keyboards > Add New Keyboard and choose the keyboard you downloaded. (Yes, the process is way too complicated.)

18. Swift switching

Once you've got a few keyboards installed, paging between them becomes arduous. Instead, touch and hold the Globe/Smily button until the keyboard selector pops up. Then tap the keyboard you want to switch to.

19. Dictation!

As improved as the iPhone keyboard is, sometimes it's still easier to talk than type. Thanks to Siri's new streaming speech-recognition, dictation is better and faster than ever. Just tap the mic button and start talking. You can even say punctuation, line and paragraph breaks, , and more!

20. iPhone 6 Plus power

If you have an iPhone 6 Plus, you can rotate to landscape mode and get access to an extended keyboard that includes editing, formatting, and even arrow keys. It's a lot of keyboard to love, but it can help you power through documents.

21. Bluetooth bonus

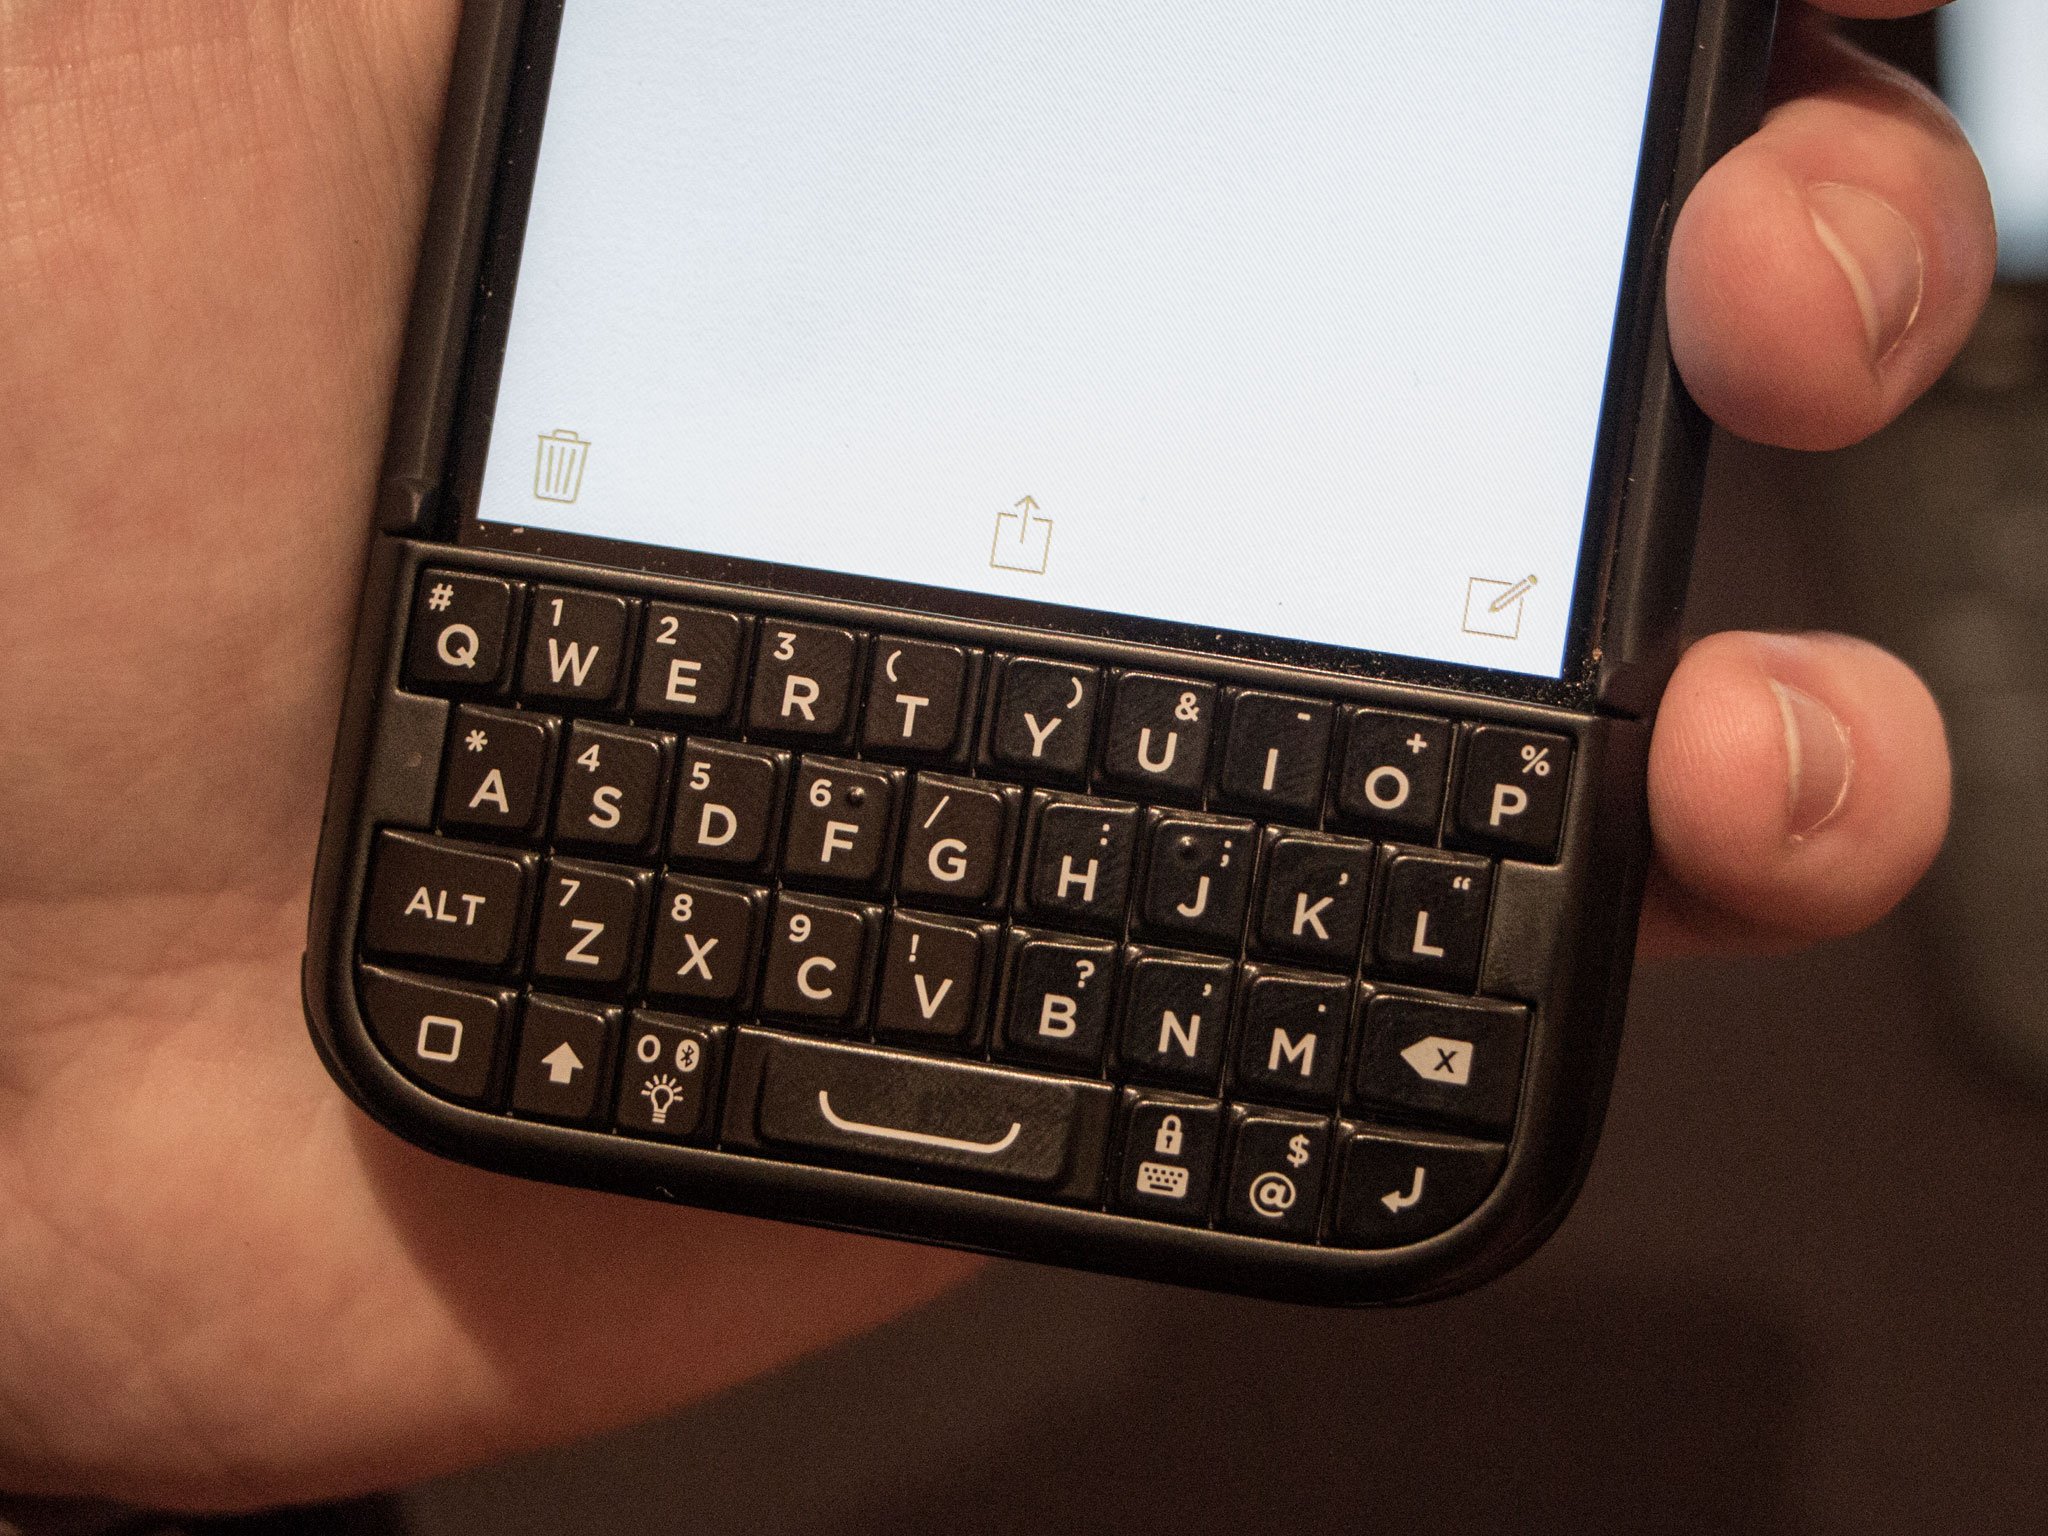
The iPhone supports Bluetooth keyboard just like the iPad. That includes everything from the Typo2 case to a full-sized Apple external, and everything in between. If you want to get physical, you can do it with Bluetooth.

Source: http://www.imore.com/secret-keyboard-shortcuts-twenty-tips-speed-typing-your-iphone

Secret headphone shortcuts: Twelve clicks to control your iPhone, iPad, and Mac

The Apple EarPods that come with your iPhone or iPod touch can be used to control a wide range of features, including music, phone calls, and even Siri.
So can any other set of headphones, from Beats to Bose — as long as they integrate the remote and mic hardware. The remote controls are great for accessibility, but they're also great for convenience. What's more, they also work with the Mac!
If you're not familiar with all the options, here's a complete list!

1. Play/pause

Single click the headset button to play audio — music, podcasts, or audio books — or to pause audio that's already playing.

2. Skip forward

Double click the headset button to skip forward to the next track or chapter.

3. Skip back

Triple click the headset button to skip back to the previous track or chapter.

4. Fast forward

Double click and hold down the headset button to fast forward through the audio.

5. Rewind

Triple click and hold down the headset button to rewind through the audio.

6. Answer or hang up

Single click the headset button to answer and incoming call or hang up an ongoing call.

7. Switch calls

Single click the headset button to switch between multiple calls.

8. Reject a call

Single click and hold down the headset button to send an incoming call to voice mail. (Two low beeps will confirm the rejection.)

9. Hang up on current call

Double click and hold down the headset button to hang up on the current of multiple calls. (Two low beeps will confirm the hang up.)

10. Activate Siri

Single click and hold down on the headset button to active Siri.

11. Talk to Siri

Single click the headset button to ask Siri additional questions or issue additional commands after it's activated.

12. Take a picture

Single click the volume up button while the Camera app is open to take a picture. Works great for selfies!

Source : http://www.imore.com/secret-headphone-shortcuts-twelve-clicks-better-control-your-iphone-ipad-and-mac#comment-form